
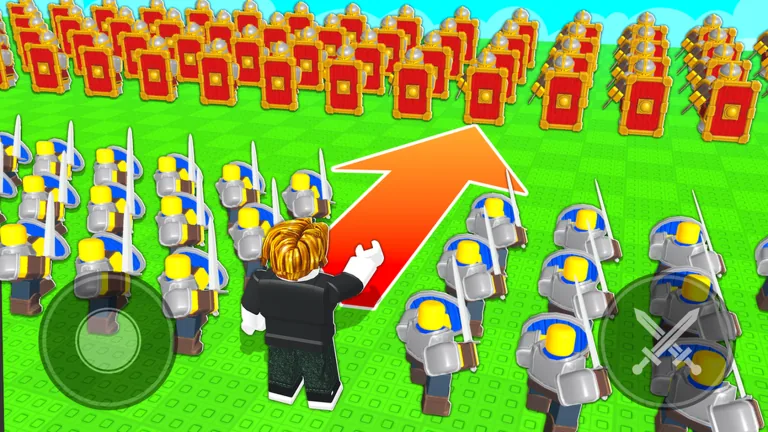
Pick Shield Wall to receive pressure, Triangle to deliver it
Command An Army gives you Shield Wall/Hold Position and Triangle. Use Shield Wall when Shieldmen need to hold ground. Use Triangle to concentrate fast units such as Scout Riders for a push. Choose for the next move, not for which shape looks stronger.
Formation comparison
| Formation | Documented role | Natural order | Objective use |
|---|---|---|---|
| Shield Wall / Hold Position | Defensive line | Hold | Protect a captured point or absorb an incoming push |
| Triangle | Concentrated offense | Attack or Rush | Drive toward a selected position or target |
The available formation menu does not give a percentage bonus, unlock level, damage modifier, or complete roster. Read the live menu before building around a number from another guide.
Build a Shield Wall where enemies must come
Set the line on useful ground rather than wherever the button becomes available. A capture zone, narrow approach, or protected edge gives the formation a purpose. Pair it with Hold so the squad does not abandon the prepared spot to chase a distant target.
Shield protection is especially valuable when ranged defenders cover open ground. That does not make the formation invulnerable. Watch flanks, capture progress, and whether teammates are ready to support the line.
When the defense ends, issue Follow before relocating. The most common operational mistake is leaving a correctly formed group on an objective that no longer matters.
Aim Triangle before committing
Triangle suits an offensive move because it concentrates the group toward the front. In recorded play, Scout Riders used a Triangle shape before advancing. Use the formation near the staging area, then identify the target and lane.
Do not send it blindly into archers or across a long exposed approach. A mounted force can lose its speed advantage when horses and troops take pressure before reaching the target. Regroup, choose an angle, and commit only after the route makes sense.
Combine formation and command deliberately
A formation organizes the squad; a command tells it what to do. Use this sequence:
- Follow to bring every troop to the staging area.
- Select Shield Wall or Triangle for the immediate role.
- Hold when receiving an attack or securing ground.
- Attack a chosen target when focused pressure is needed.
- Rush only for a coordinated breakthrough.
- Return to Follow after the engagement.
Changing the shape cannot repair troops that are far away or obeying an old command. Confirm location first.
Match the formation to the objective
Attackers need movement through Capture Point A, Capture Point B, and the Capture Base. Triangle can support a prepared push, while Shield Wall can protect a newly taken point. Defenders reverse the priority: establish a line where the attackers must enter, then counterattack only when it will not surrender the objective.
The win condition remains capture progress, not merely forming a neat squad or collecting kills.
FAQ
Which formations are confirmed?
Shield Wall/Hold Position and Triangle.
Does Shield Wall increase defense by a fixed amount?
Use it for defense and check the live menu before relying on a numerical modifier.
Which formation works for Scout Riders?
Triangle is an offensive fit for fast troops such as Scout Riders.
Should attackers always use Triangle?
No. Shield Wall can protect captured ground, and the route and enemy pressure should decide.
Why is my formation not moving?
The squad can still be on Hold. Issue Follow or the intended attack order and verify movement.