
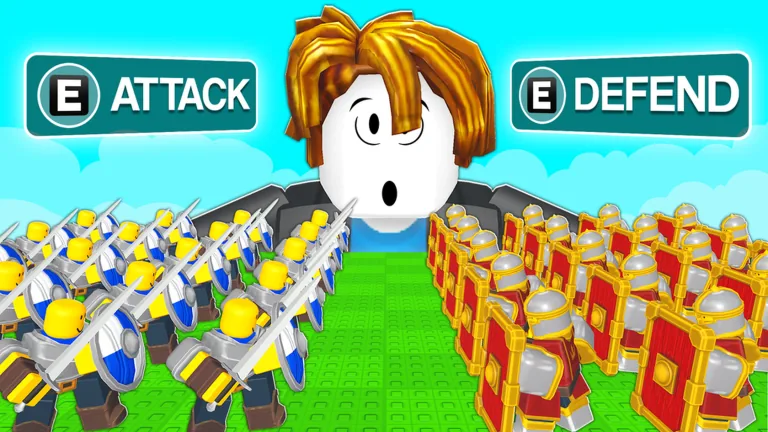
Win the capture route, not the kill count
This Command An Army attack and defense guide starts with the decisive rule: objectives win matches. Attackers move through Capture Point A, Capture Point B, and the Capture Base. Defenders make those approaches expensive and preserve control. Kills matter when they create capture space; chasing them away from the marker can lose the match.
Attacker and defender priorities
| Role | First priority | Command pattern | Formation choice |
|---|---|---|---|
| Attacker | Reach and secure the next marked point | Follow, stage, Attack, then Rush if committed | Triangle for concentrated offense; Shield Wall after capture |
| Defender | Occupy ground the attacker must enter | Follow, position, Hold, focus attackers | Shield Wall for a prepared line; Triangle for a counterpush |
Small team fights, including 3v3, make each commander’s squad position visible. Arrive together rather than turning the route into several isolated duels.
Attack in five phases
First, use Follow and bring the squad to a staging area. Second, scan for archers, shields, mounted threats, and cannon lines. Third, choose the formation that fits the approach. Fourth, use Attack on the priority target or Rush only when the whole push is committed. Fifth, stand where capture progress occurs and reset to Follow after the fight.
Cannons can soften a defended point. Operating one can also distract you while troops remain behind, so check the squad before and after firing.
Break ranged pressure
Do not send exposed cavalry or unprotected melee straight across the longest open lane. A recorded push lost horses and troops before reaching archers. Bring Shieldmen when the current loadout allows it, approach with teammates, and use terrain or another angle.
Once close enough, designate the ranged group with Attack. Watch whether troops engage the intended target. If pathing or targeting goes wrong, return to Follow, reposition, and try again rather than stacking uncontrolled Rush orders.
Defend the ground that matters
Set Shield Wall/Hold Position on or near the objective and pair it with Hold. The aim is to make attackers enter prepared troop coverage. Keep enough awareness to prevent a flank or capture from another angle.
Do not chase every retreating enemy. If leaving the zone opens capture progress, the kill is a bad trade. Use Attack for a nearby priority threat and return the squad to the defensive position.
Convert a capture into the next move
After Point A falls, collect scattered units with Follow before moving to Point B. Repeat before the Capture Base. Attackers often lose momentum because the player advances while surviving troops remain on an old Hold order.
Defenders should do the same after a successful stop: count remaining troops, heal or reposition the character, and establish the next useful line. Formations organize the group, while commands control its current job.
A simple battlefield checklist
- Where is the active objective marker?
- Are all surviving troops with me?
- Is the enemy threat ranged, shielded, mounted, or scattered?
- Does the formation support the next action?
- Is Rush achieving a capture or merely starting a fight?
- After contact, which command resets the squad safely?
That checklist turns personal combat into command. Your character can attack, block, roll, heal, and mount, but those controls should serve the capture plan.
FAQ
What is the attacker objective order?
Capture Point A, then Capture Point B, then the Capture Base.
Are kills the win condition?
No. Capture progress decides the objective flow, even when players focus on kills.
How should I defend a point?
Place suitable troops on useful ground, select Shield Wall when appropriate, and use Hold.
How do I attack archers safely?
Bring protection, avoid the longest exposed lane, coordinate with teammates, and focus them with Attack.
When should I use Rush?
Use it for a coordinated breakthrough toward a chosen destination, not routine travel or an unsupported charge.